
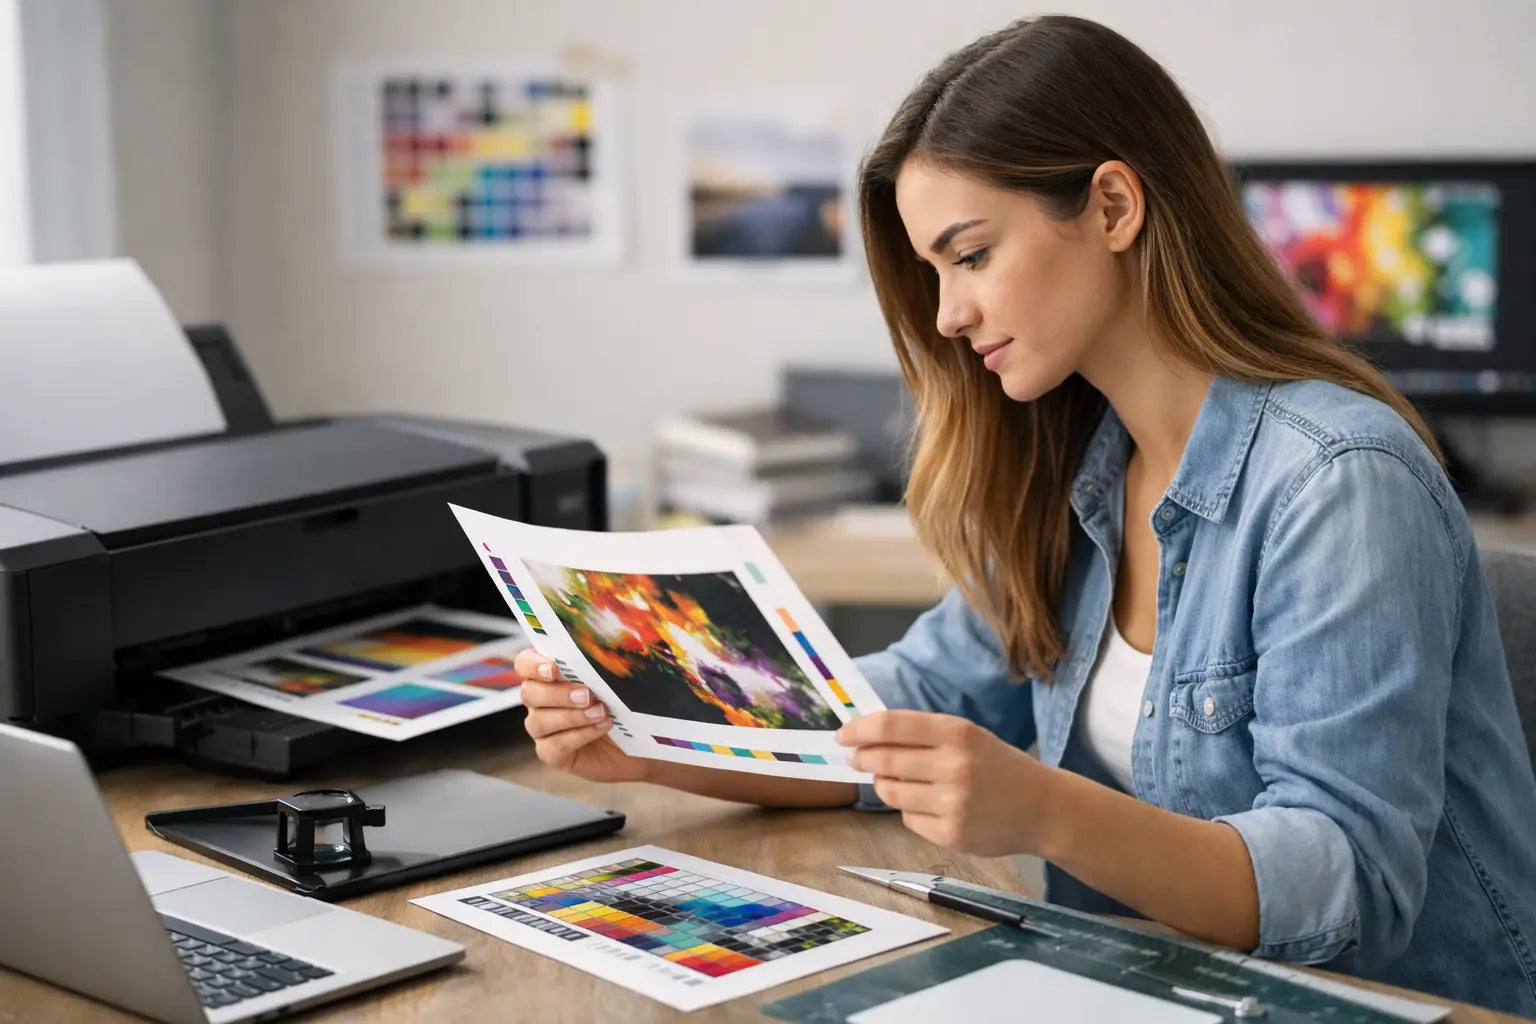
A flyer can look perfect on screen and still arrive with a white edge, fuzzy logo or text trimmed too close to the cut line. The difference is usually in the file setup. Knowing how to prepare print-ready artwork means your business cards, posters, menus, wedding invitations and signage move into production without avoidable delays or costly reprints.
A print-ready file gives the printer everything needed to reproduce your design accurately: the correct finished size, enough image quality, the right colour settings and clear instructions for trimming or finishing. The details vary slightly between products, particularly for folded leaflets, large-format graphics and items with special finishes, but the core checks are consistent.
Start with the finished size, not the page on screen
Set your document to the product’s finished dimensions before you begin designing. A standard A5 flyer, for example, finishes at 148 x 210 mm. A business card may be 85 x 55 mm. If the artwork is built at the wrong size, it may need to be scaled during production, which can affect image sharpness, line weights and layout.
Use millimetres for printed work rather than pixels. Pixels are useful for screens, but millimetres provide a fixed physical measurement and remove ambiguity from the file.
For products with folds, request or use the relevant template where possible. A tri-fold brochure is not simply three identical panels: one panel is often made slightly narrower so it folds neatly inside. Similarly, booklets, tent cards, stickers and presentation folders each have their own practical allowances. A template protects the areas that matter before your design becomes complicated.
Add bleed and keep vital details safe
Commercial print is printed on larger sheets and cut down to final size. Even well-maintained finishing equipment has a small cutting tolerance. Bleed and safe margins allow for this natural variation.
What bleed does
Bleed is extra artwork that extends beyond the final trim edge. Where a photograph, colour background or pattern reaches the edge of the design, extend it by 3 mm on every side unless the product specification says otherwise. An A5 flyer with bleed, for instance, should usually be supplied at 154 x 216 mm, while still trimming to 148 x 210 mm.
Without bleed, a tiny shift in trimming can leave an unwanted white sliver at the edge. It is one of the most common reasons artwork needs to be amended before printing.
What a safe margin does
Keep text, logos, phone numbers, QR codes and other essential details at least 3 mm inside the final trim line. For folded pieces, allow more space around fold lines. A headline can survive being near an edge; a telephone number or booking deadline cannot.
Do not use a thin border close to the edge unless you are happy for it to appear slightly uneven after trimming. Borders make small movement far more noticeable. A full-bleed background is usually the safer design choice.
Use print-quality images and graphics
An image downloaded from social media or copied from a website may look fine on a phone but be too small for print. For most standard printed items, aim for images at 300 dpi at the size they will appear in the finished artwork.
The phrase “at the size” matters. A 300 dpi image can become low resolution if it is enlarged significantly in the layout. Avoid stretching photos, screenshots and logos to fit. If you see a warning icon in your design software, or the image looks soft when viewed at 100%, source a larger original file.
Vector artwork is preferable for logos, icons, diagrams and line-based graphics. Vector files remain sharp at different sizes because they are built from mathematical paths rather than a fixed grid of pixels. Common vector formats include PDF, AI, EPS and SVG, though final supply requirements can differ by workflow.
Large-format printing is the main exception to the 300 dpi rule. A banner viewed from several metres away can often work well at a lower effective resolution. The correct level depends on its finished size and viewing distance. A pull-up banner in a reception area needs more care than a large roadside sign viewed from a passing vehicle.
Set colours for print, and manage expectations
Screens use RGB light to create colour. Commercial printing commonly uses CMYK inks - cyan, magenta, yellow and black. RGB colours can appear brighter and more fluorescent on screen than CMYK inks can reproduce on paper.
Where your software allows it, create the artwork in CMYK from the outset. This gives a more realistic preview of how colours may print. However, a screen is never a perfect proof: its brightness, settings and ambient light all influence what you see.
If your branding uses a precise corporate colour, ask about Pantone or spot-colour options where they are appropriate. This can be worthwhile for a recognisable logo, branded stationery or a campaign where colour consistency across several materials matters. For everyday flyers and short-run promotional work, standard CMYK is often the sensible balance of quality, speed and cost.
For black text, use 100% black rather than a four-colour black build. Small text made from several inks can look less crisp if even a slight registration variation occurs. Rich black can be useful for large, solid black backgrounds, but it should be specified correctly for the chosen stock and print process.
Check fonts, lines and overprint before export
Fonts can cause unexpected substitutions if a file is opened on a device that does not have the same typeface installed. When exporting a final PDF, embed fonts or convert them to outlines if your workflow requires it. Keep an editable working version separately - outlined text is difficult to change later.
Avoid hairline rules and very fine reversed-out type, especially on uncoated stock or textured materials. What looks delicate and elegant on screen may fill in or break up in print. As a practical rule, use clear line weights and give small white text enough weight to remain legible.
Overprint settings deserve attention too. Overprint can be useful in specialist production, but accidental overprint may make objects disappear or alter colours when printed. Unless you understand why it has been applied, leave overprint off and inspect the PDF carefully.
Export a PDF that is ready for production
A high-quality PDF is usually the most reliable format for submitting finished artwork. It preserves the layout, fonts, images and vector elements in one file, making it easier to process consistently.
When exporting, select a print-quality or press-quality PDF preset. Include 3 mm bleed where required and add crop marks only if the product instructions ask for them. Crop marks are not a substitute for bleed, and unnecessary marks can complicate files for smaller products.
Before uploading, open the exported PDF rather than checking only the original design file. Review every page at 100% zoom. Check that page order is correct, backgrounds reach the bleed edge, images are sharp, and no text has shifted. For double-sided work, make sure the front and reverse are oriented correctly. This is particularly important for folded cards, tent cards and duplex signage.
Build in a final proofing routine
The most reliable artwork is not created by one perfect click. It is checked methodically before it reaches print. Read the content aloud or ask a colleague to review it, because your eye can easily skip a repeated word, wrong date or missing digit when you have been working on the design for hours.
Pay particular attention to contact details, web addresses, QR codes, prices, event dates and social media handles. Test QR codes from the final PDF or a printed proof where possible. Check that any legal wording, terms, allergen information, safety instructions or sponsor logos are present and readable.
Then compare the file against the order: correct product, quantity, stock, single- or double-sided printing, finished size and finishing option. A beautifully prepared A4 PDF is still the wrong file if the job ordered is A5, or if a folded leaflet has been supplied as separate pages without fold guidance.
When it is worth asking for help
Some jobs need more than a standard PDF check. Die-cut shapes, white ink, metallic effects, foil, spot UV, labels, window graphics, booklets and large display systems have specific setup requirements. So do jobs that combine folding, perforation, numbering or multiple finishing stages.
For these projects, speak to the production team before finalising the design. A quick conversation can confirm bleed, safe zones, panel sizes, material suitability and the best way to supply the file. At Instant Print NI, that practical support is part of helping customers get from artwork to finished print without unnecessary hold-ups.
Give your file the same attention you give the message it carries. A few minutes spent checking size, bleed, resolution and the final PDF can protect your deadline and ensure the finished piece represents your business exactly as it should.